CRM Migration FAQs

How to export Salesforce tasks in csv. file?

You can export Salesforce Tasks into CSV files in two ways: 1. Use Trujay service. It allows you to export different modules or all the modules with saved relations between records. That means if you decide to transfer your data from CSV to another platform, it will have the same connections as it had in

FindMyCRM Resources

You can export Salesforce Tasks into CSV files in two ways:

1. Use Trujay service.

It allows you to export different modules or all the modules with saved relations between records. That means if you decide to transfer your data from CSV to another platform, it will have the same connections as it had in your Salesforce account.

2. Use the option Salesforce offers.

To get started with your Salesforce tasks migration, you need to proceed with the following actions:

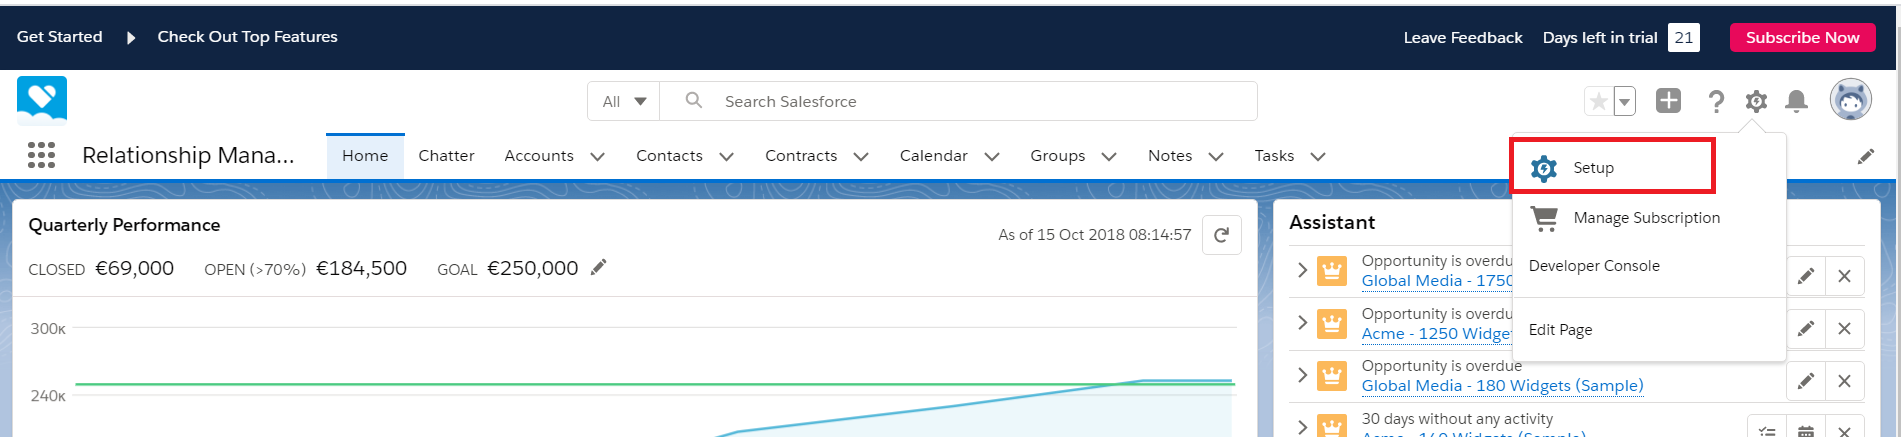
  1. Log into your Salesforce profile and choose ‘Setup’ from the ‘Settings’ drop-down box on the right side of your dashboard.
Setup SF
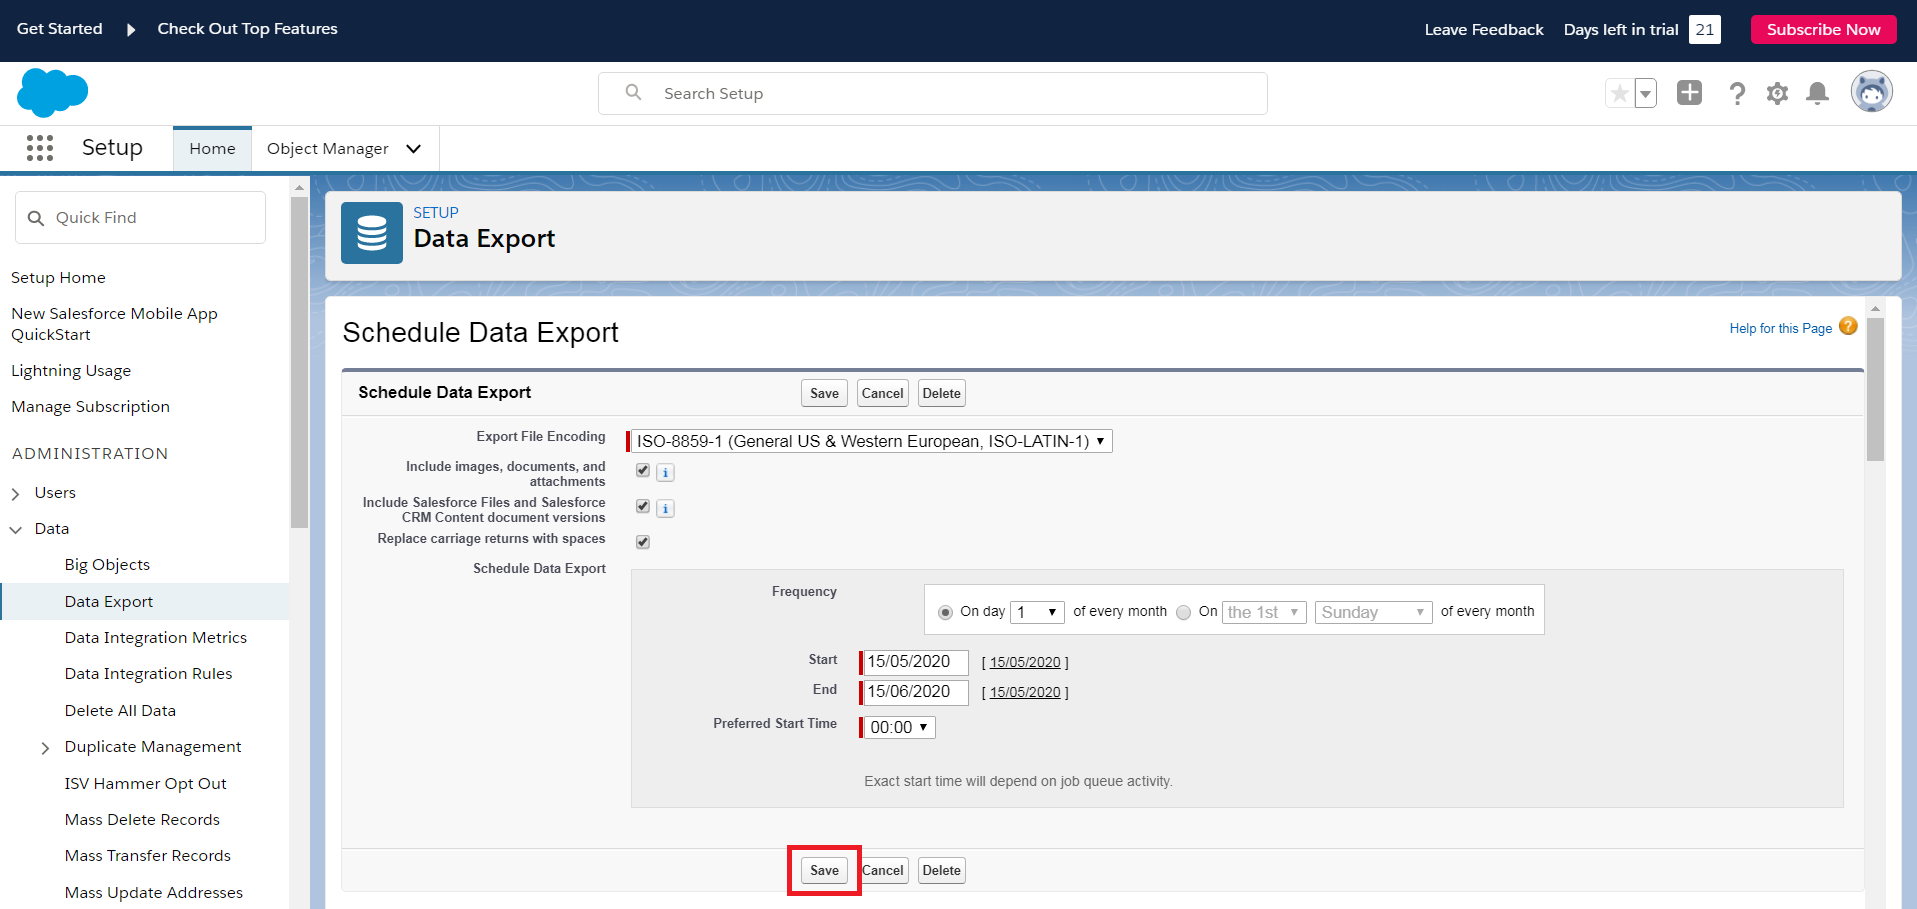
  1. On the left side of the page layout, press on ‘Data’ first and ‘Export Data’ after that.

3. Now, select the ‘Task’ module from the list of records.

4. At this point, you can begin to transfer selected Salesforce records into the file by pressing the ‘Export Now’ button. When an export is ready for download, you will receive an email containing a link that allows you to do that.

‘Export Now’ button SF


So, now go back to your migration wizard and upload this file to proceed with further steps.

So, the short instruction looks like this:

  1. Log in to your Salesforce account.
  2. Navigate to the "Tasks" tab or open the "Tasks" section in the sidebar.
  3. Apply any necessary filters or search criteria to display the tasks you want to export.
  4. Once you have the desired tasks visible, click on the "Tools" button or the downward arrow icon (which may vary depending on your Salesforce setup) to reveal a dropdown menu.
  5. In the dropdown menu, look for an option like "Export" or "Export Tasks." Click on it to proceed.
  6. You may be prompted to select the fields you want to include in the export. Choose the relevant task fields such as "Subject," "Due Date," "Status," etc. You can also choose to include additional related fields if needed.
  7. After selecting the fields, you should have the option to choose the export format. Look for "CSV" or "Comma-Separated Values" and select it.
  8. Choose a location on your computer where you want to save the exported CSV file.
  9. Click on the "Export" or "Generate" button to initiate the export process.
  10. Once the export is complete, you can locate the exported CSV file in the chosen location on your computer.

Please keep in mind that the specific steps and options may differ slightly based on your Salesforce edition, customization, and user permissions. In case you encounter any difficulties or if the mentioned options are not accessible, we recommend consulting the Salesforce documentation or contacting your Salesforce administrator for additional support.


Elements Image

Subscribe to our newsletter

Stay up to date. We like to talk about ways to launch, manage and enhance your CRM.